
 |
| Before you start, I suggest a simple sketch of your tier. How many cupcakes do you want to house on this tier? I have a rough idea what styrofoam shapes are available in the craftstores. Always build from the bottom up, start with a bigger and thicker base and slowly go upwards with smaller bases. Place a few empty cupcake liners to see the placing. Make sure the base is large enough to support the weight of cupcakes on the top layers. Try pressing the edges to see if the base will tip if one side of the cake tier is empty. Tipping is a big no-no, so make the top layer smaller. Each layer should be tall enough to house a cupcake with a mound of cream on the top. Measure with an empty cupcake liner and imagine the buttercream height plus fondant piece if any. |
 |
| Sometimes you will find ready formed styrofoam pieces you can add on as a topper. This heart styrofoam was skewered with a satay stick onto the top layer to see if the proportion is right for the whole ensemble. |
 |
| Top view of the tier. See the arrangement of the cupcakes. |
 |
| I usually do a simple draft of the cupcake tiers so placing the cuppies on that day will be super easy. The chart also determines how much cupcakes goes to which tier. |
 |
| I decided to fill this heart with miniature paper roses. |
 |
| Puncture the styrofoam with a toothpick before pushing in a rose. |
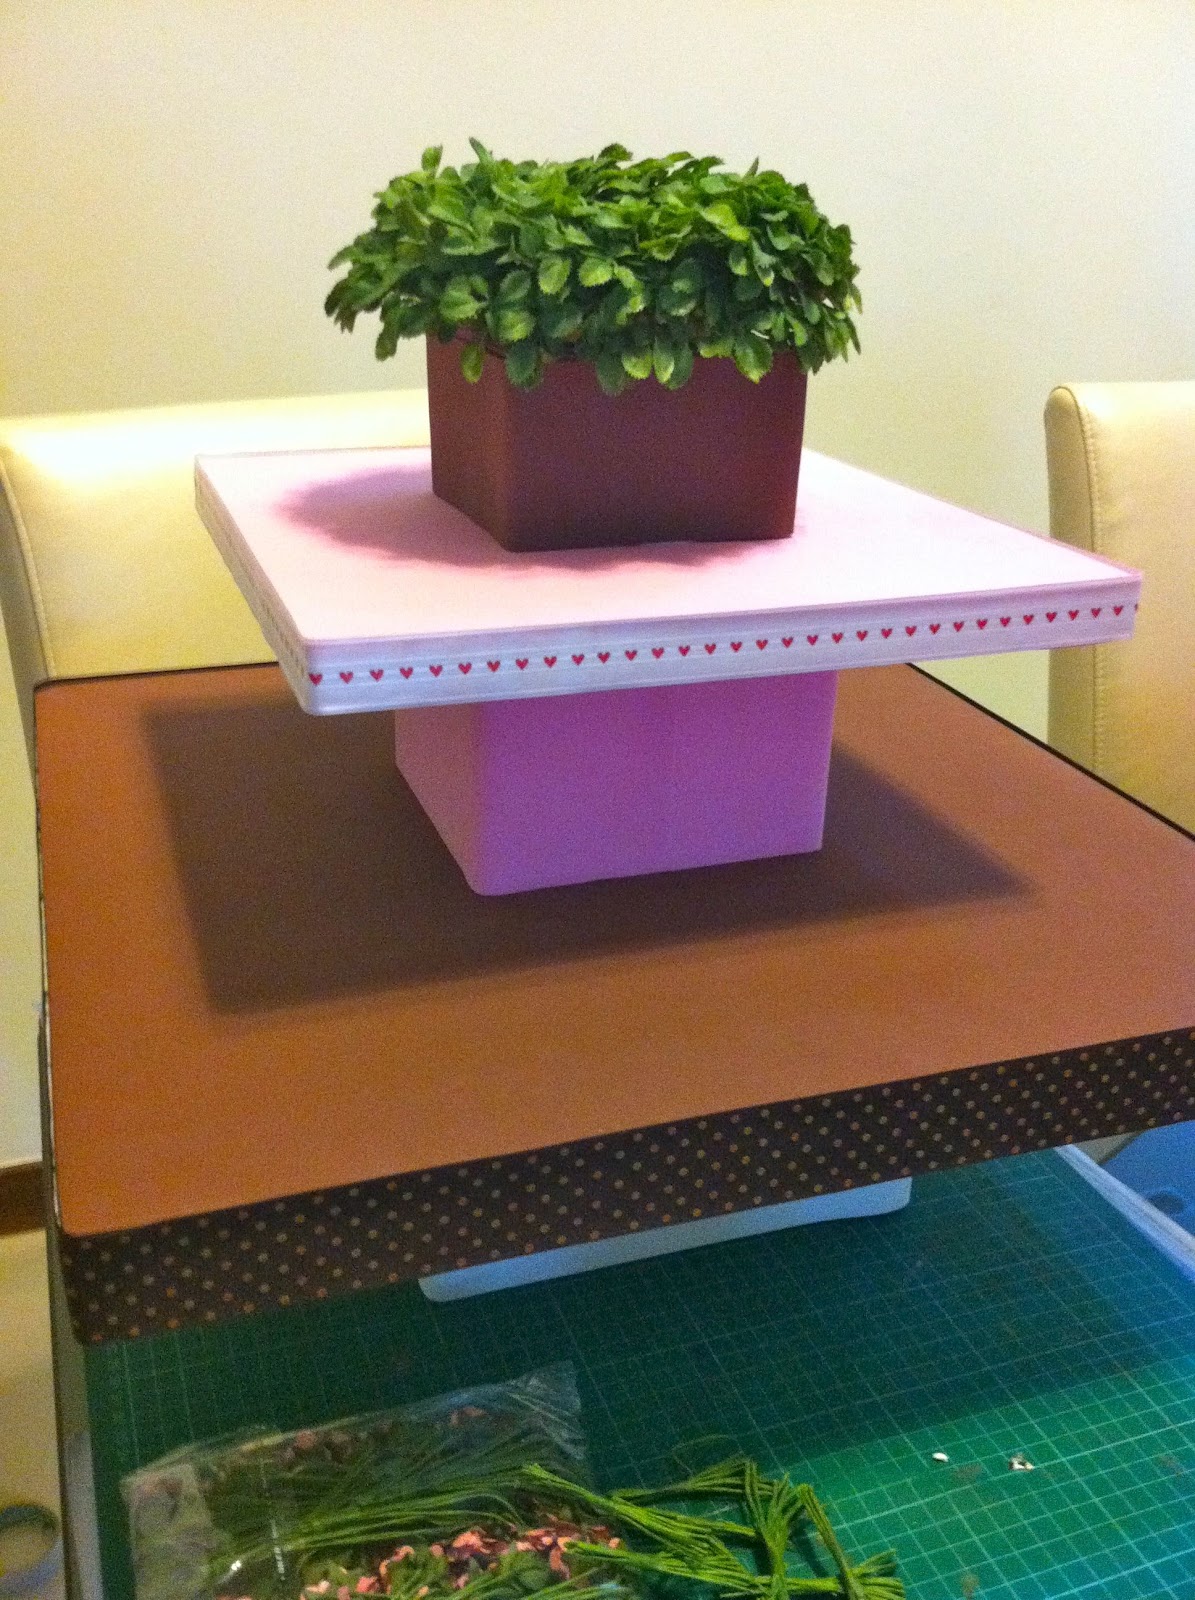 |
| I covered the layers in PVA foam. They look fondant covered. Double sided tape works best. Matching ribbons all round to cover the edges of the styrofoam layers. Glue the layers together with Styrofoam glue, stick some bamboo skewers in the middle and drive them right through layer to layer. This will ensure the tier will dry stuck together, to avoid gaps in between, weigh the cupcake tier down with weights when drying. I used my hubby's weights for this. Leave this for a day or two to dry. Do not skip this, the stability of your tier depends on your drying time. The drying time is slow, but it really is secure. |
 |
| There are many ways you can embellish the tier. One of the easiest is using stickers. 3D stickers now come in an exciting variety of sizes and colours. I collect them whenever I spot a potential design that will complement a theme. For Isabelle's pink tier I used this sparkly foam alphabet stickers. I used sewing pins to hold each letter up. It'll be fantastic if you have translucent picks. |
 |
| I added roses on each tier to complete the look. Secure the flowers with pins. This is crucial so when you move the tier, nothing falls out. |
 |
| Pinned a felt butterfly sticker to the heart and secured more cascading roses. Think proportion! Think Presentation! |
 |
| The finished tier. HAPPY TRYING!!! |
1 comment:
Thanks Mel! This is a great tutorial. Now I get it why you mentioned about the long satay stick! ;P
Post a Comment