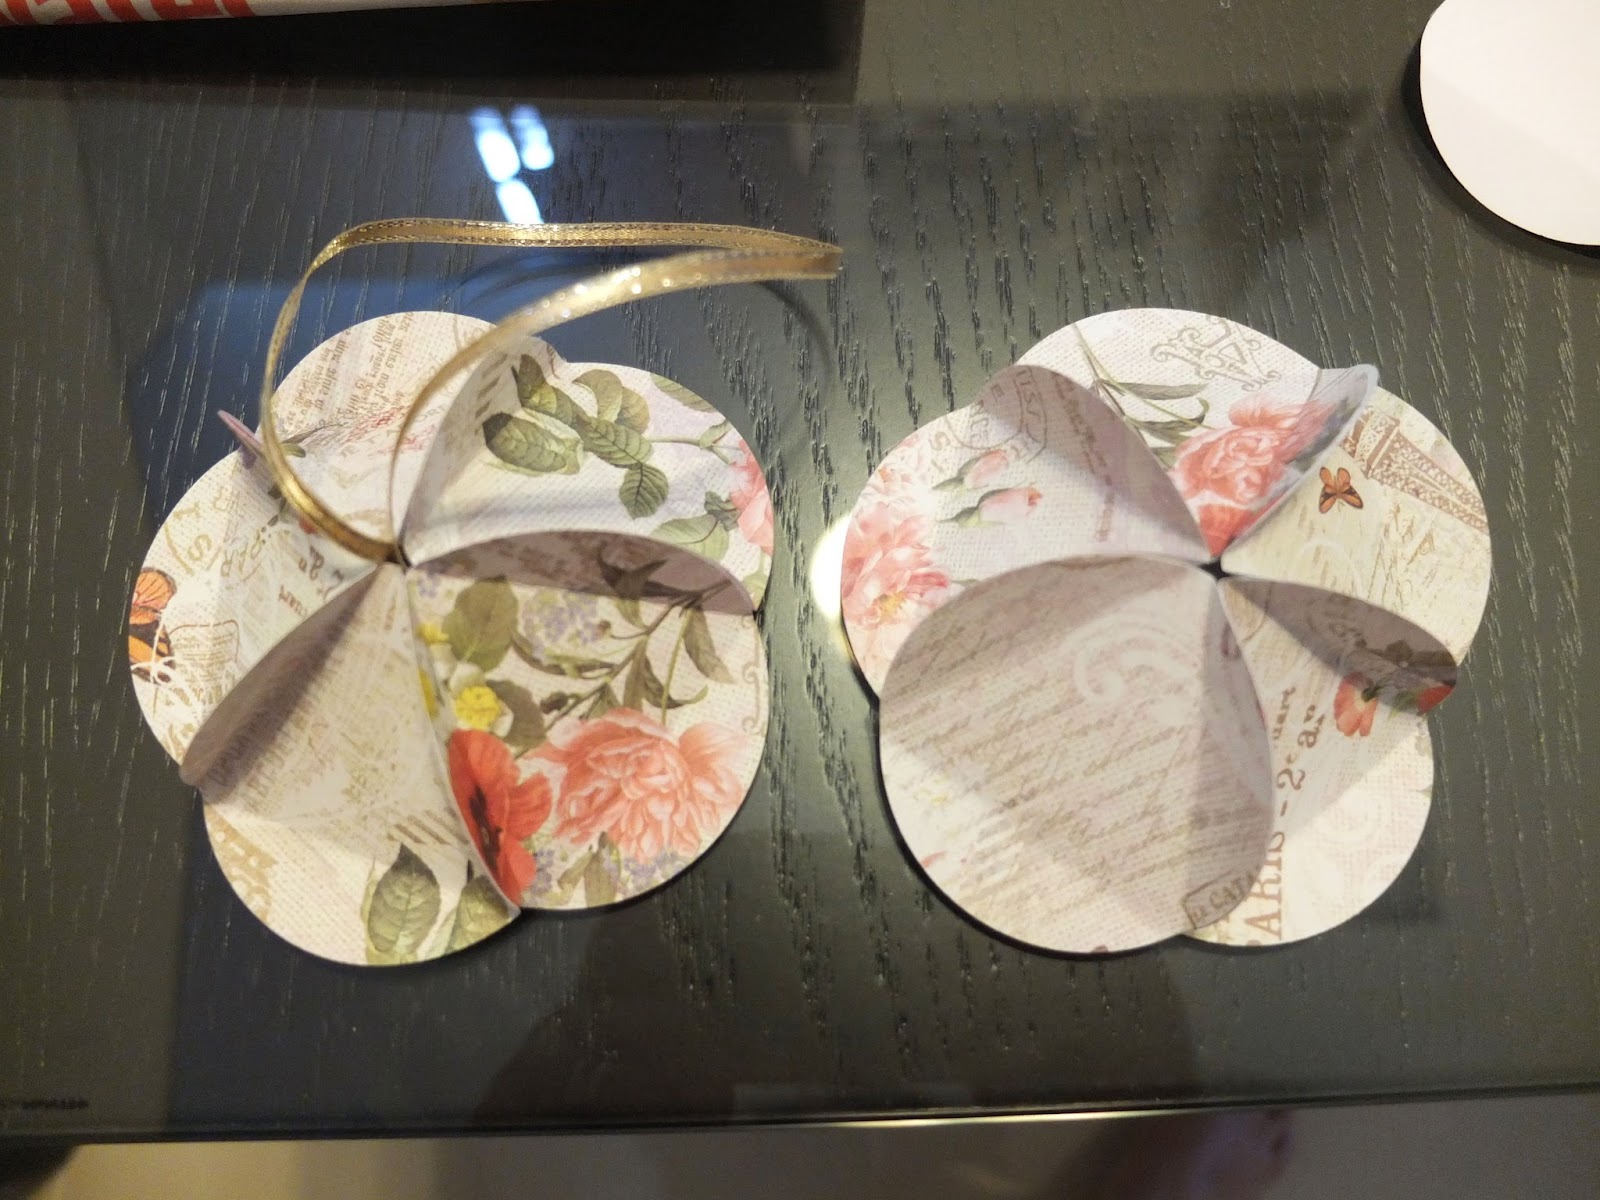
|
| NNC Members who attended the annual meet. |
It's the annual meet of our crafting group for 2014. Yes, we are 7 years old!!!! See what fun we had...
 |
| The Annual gift exchange. |
 |
| Guests arriving at Yee's Button. We rented a cozy place above this wonderful crafting shop in PJ. |
 |
| Gave Margaret the Bookmarks I made for a separate exchange. We organise many exchanges and in many themes. Do join us for great fun! Will post about this next. |
 |
| Soon everyone arrived just in time. |
 |
| Lots of photo taking. |
 |
| This was a birthday exchange from Sally to Radha. |
 |
| Another book exchange here. |
 |
| A squirmy bookmark. |
 |
| With book included! |
 |
| We browsed and took home books generously donated by our beloved friend, Janet. We miss you and will always think of you when do our many many crafts. |
 |
| Usha sorting and going through the hundreds of books and magazines. |

 |
| Nik also brought some lovely zipper pouches for sale. I bought one too for my mom. |
 |
| Vivian's little shoppe has everything I want to buy! |
 |
| Buy some Margaret! |
 |
| Bought these Modkid and sock monkey for gifts as well. |
 |
| Handmade and brilliantly made! |
 |
| Love these fridge magnets! |
 |
| Beautiful handmade cards. |
 |
| A mini conference going on. |
 |
| Paul looking amused. |
 |
| Exciting day for friends to meet up and chat! |
 |
| More browsing and selecting. |


 |
| Cupcakes anyone??? |

 |
| Our little buffet. |
 |
| Yummy currypuffs. |
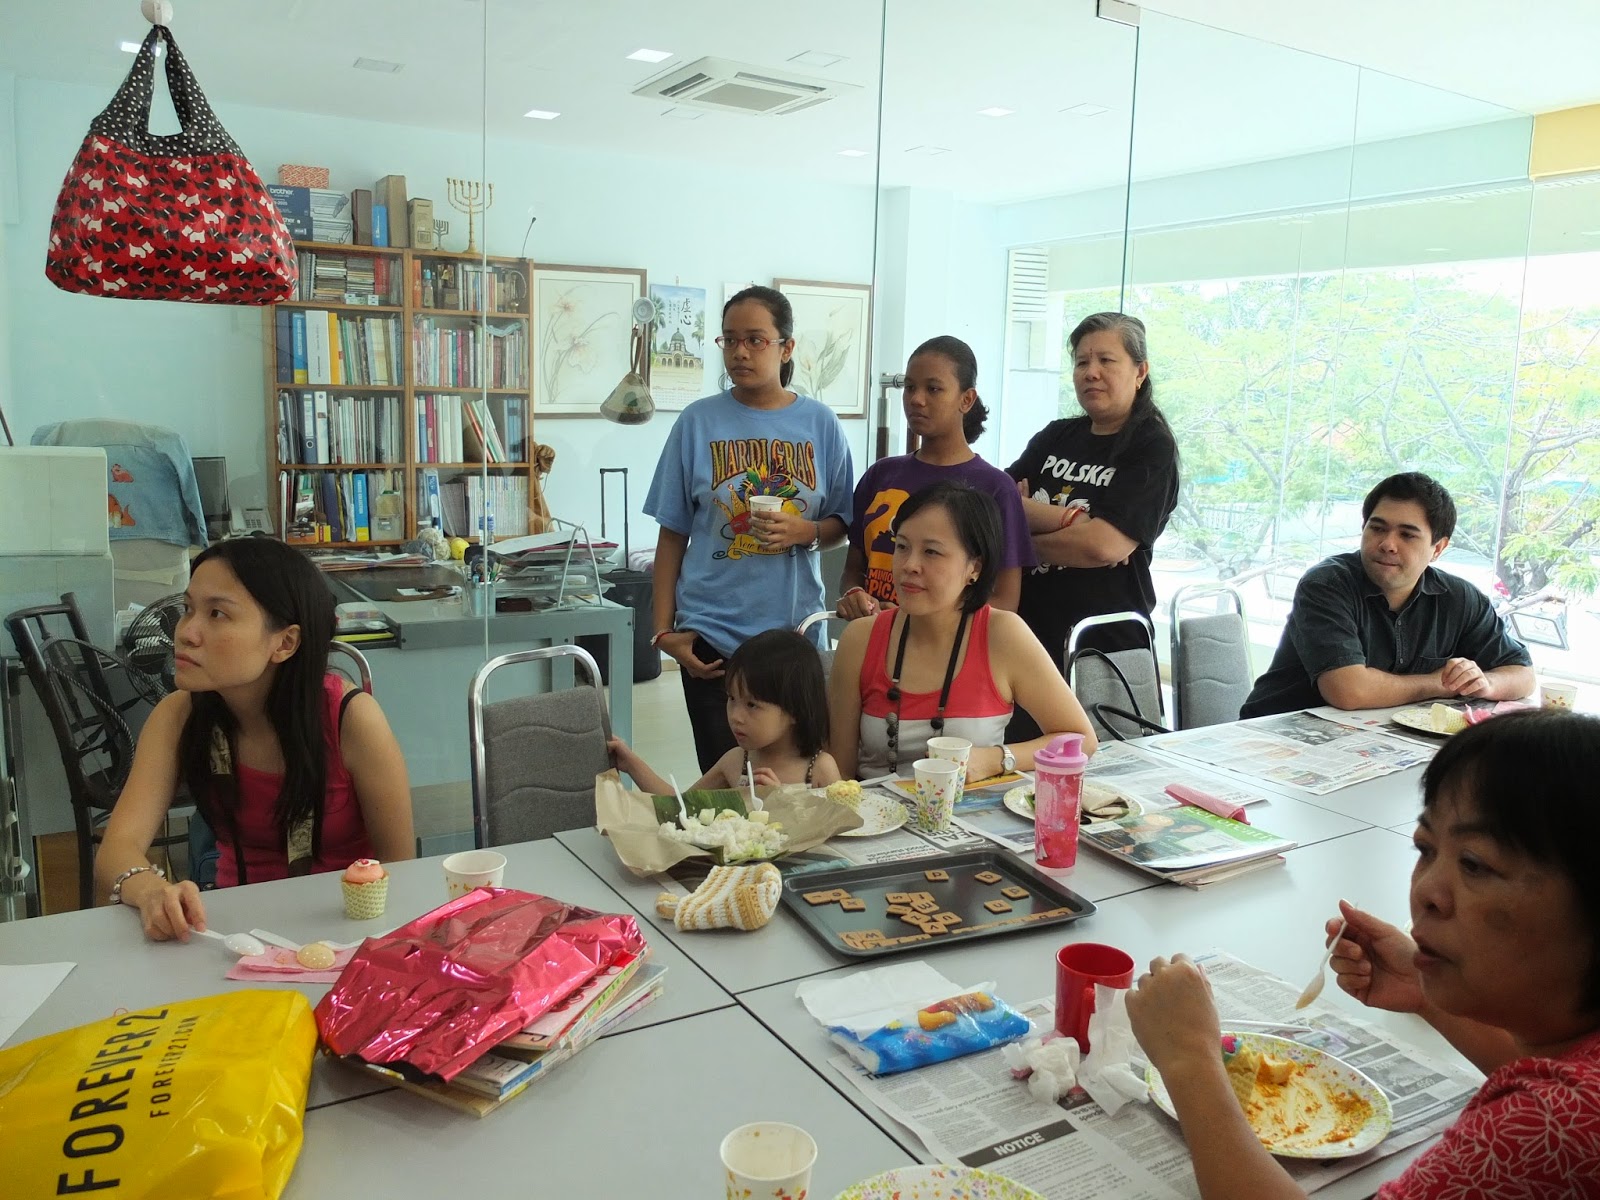 |
| Enjoying our food and listening to a small presentation by the shopowner. |
 |
| Ehemmm! |

 |
| Amigurumi class anyone? |

 |
| We were surrounded by beautifully crafted needlework. So inspired to start on new projects! |
 |
| Browsing through some of the courses available at Yee's Buttons. |
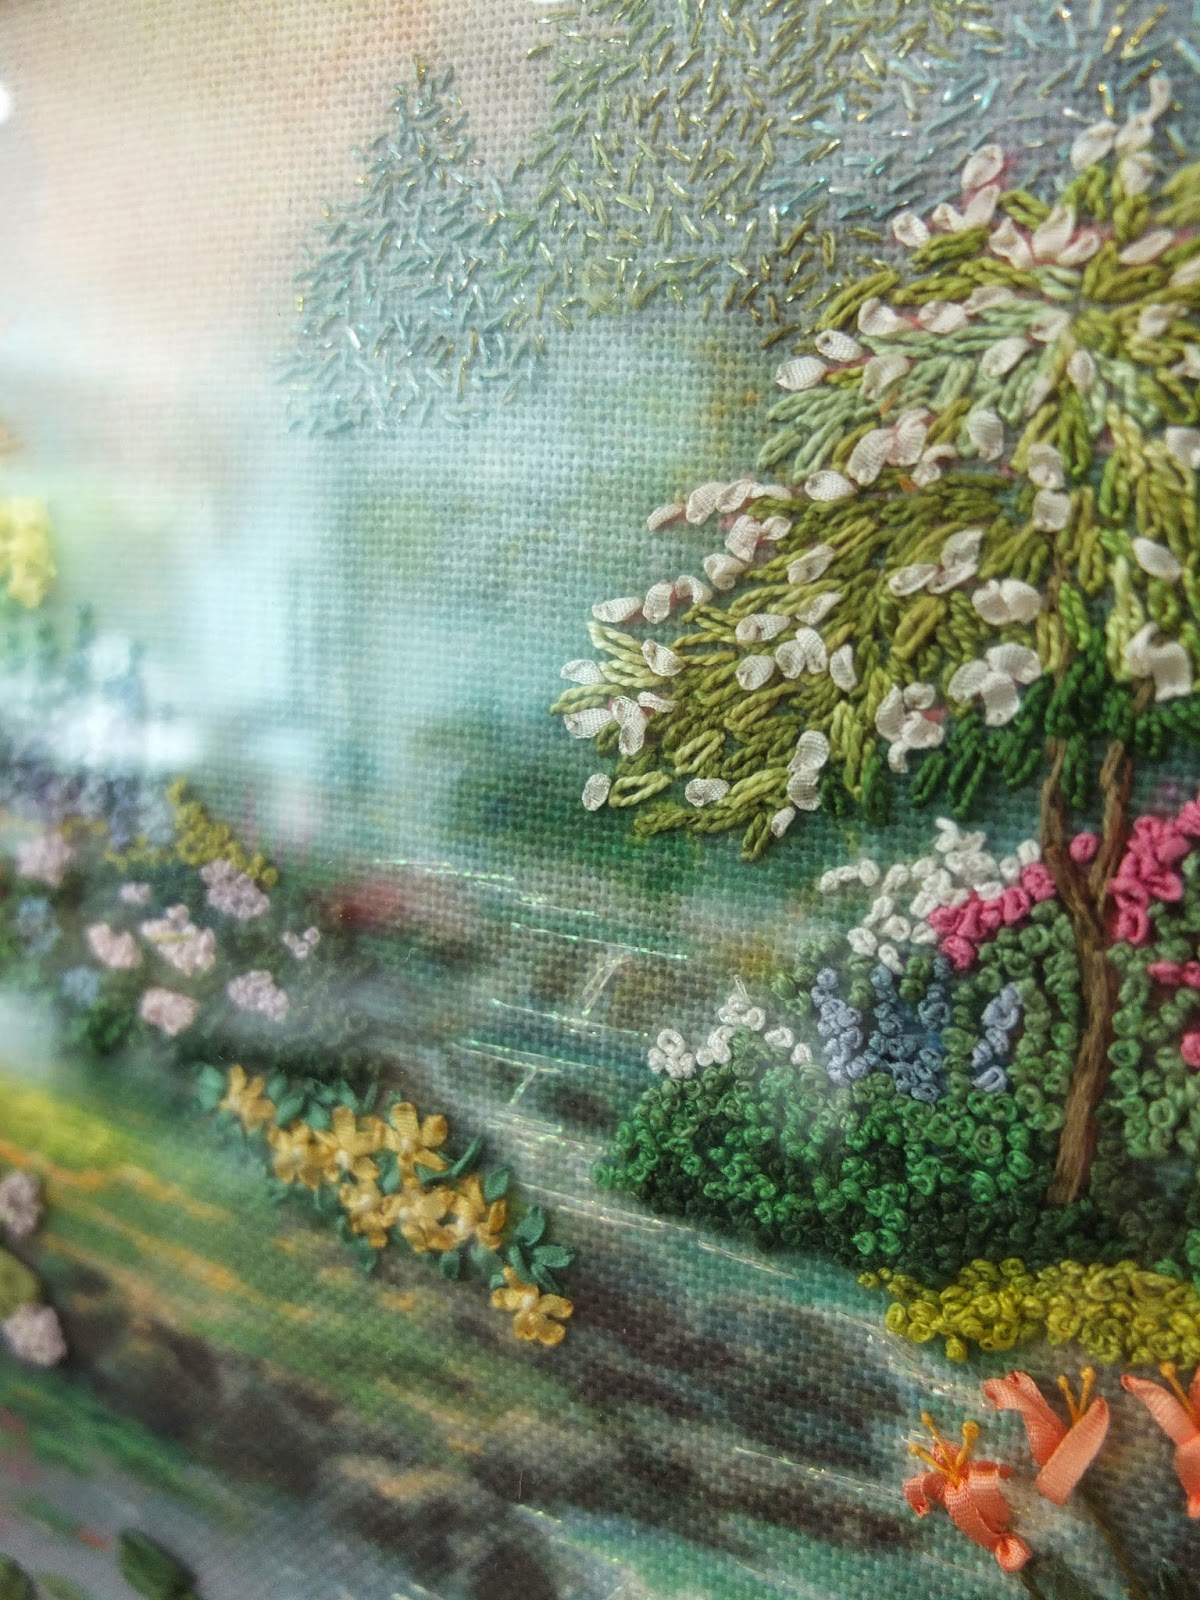 |
| Look at all the stitching. |
 |
| The little people had a craft session with Margaret. |
 |
| Making peg dolls. |
 |
| Looks like the adults also want to join in. |
 |
| Little Aerin taking part. She's our youngest member yet! |
 |
| Nik, giving out goodies to the kids. |
 |
| Usha's girls! They are so grown up already. |
 |
| Zarina giving some quilting tips! She's our Queen of Quilts. |

 |
| Fishing for the Annual gift exchange. |

 |
| LOL! |
 |
| Radha received from Usha. |


 |
| Usha received from Vivian. |


 |
| Vivian received from Margaret. |


 |
| Margaret received from Nik. |


 |
| Nik received from Radha. |
 |
| And Bee Ee received from Me! Lol! Look at that glee on her face. |
 |
| We have several lucky draws that day. |

 |
| The goodie bag! Nik explaining what and who we received from. |
 |
| Some items are delicately handmade. Thanks everyone who contributed. |
 |
| Radha won a lucky draw for the fish challenge. |
 |
| Winning prize! We love fat quarters!!! |


 |
| A handmade gift for Zarina for the quilt she put together for Janet. |
 |
| More gifts! |
|
| SEE YOU ALL SOON!!!! |