 |
| Prepare the heart embellishment and sew on the front body of PVC. Layering of felt and fabric. Sew across right in the middle, making sure you backstitch at the end. Using a needle, loop the top loose end of the thread and tie a knot on the other side securing the top thread with the thread on the other side from the bobbin's thread. Do the same from the top of the heart where you first started. |
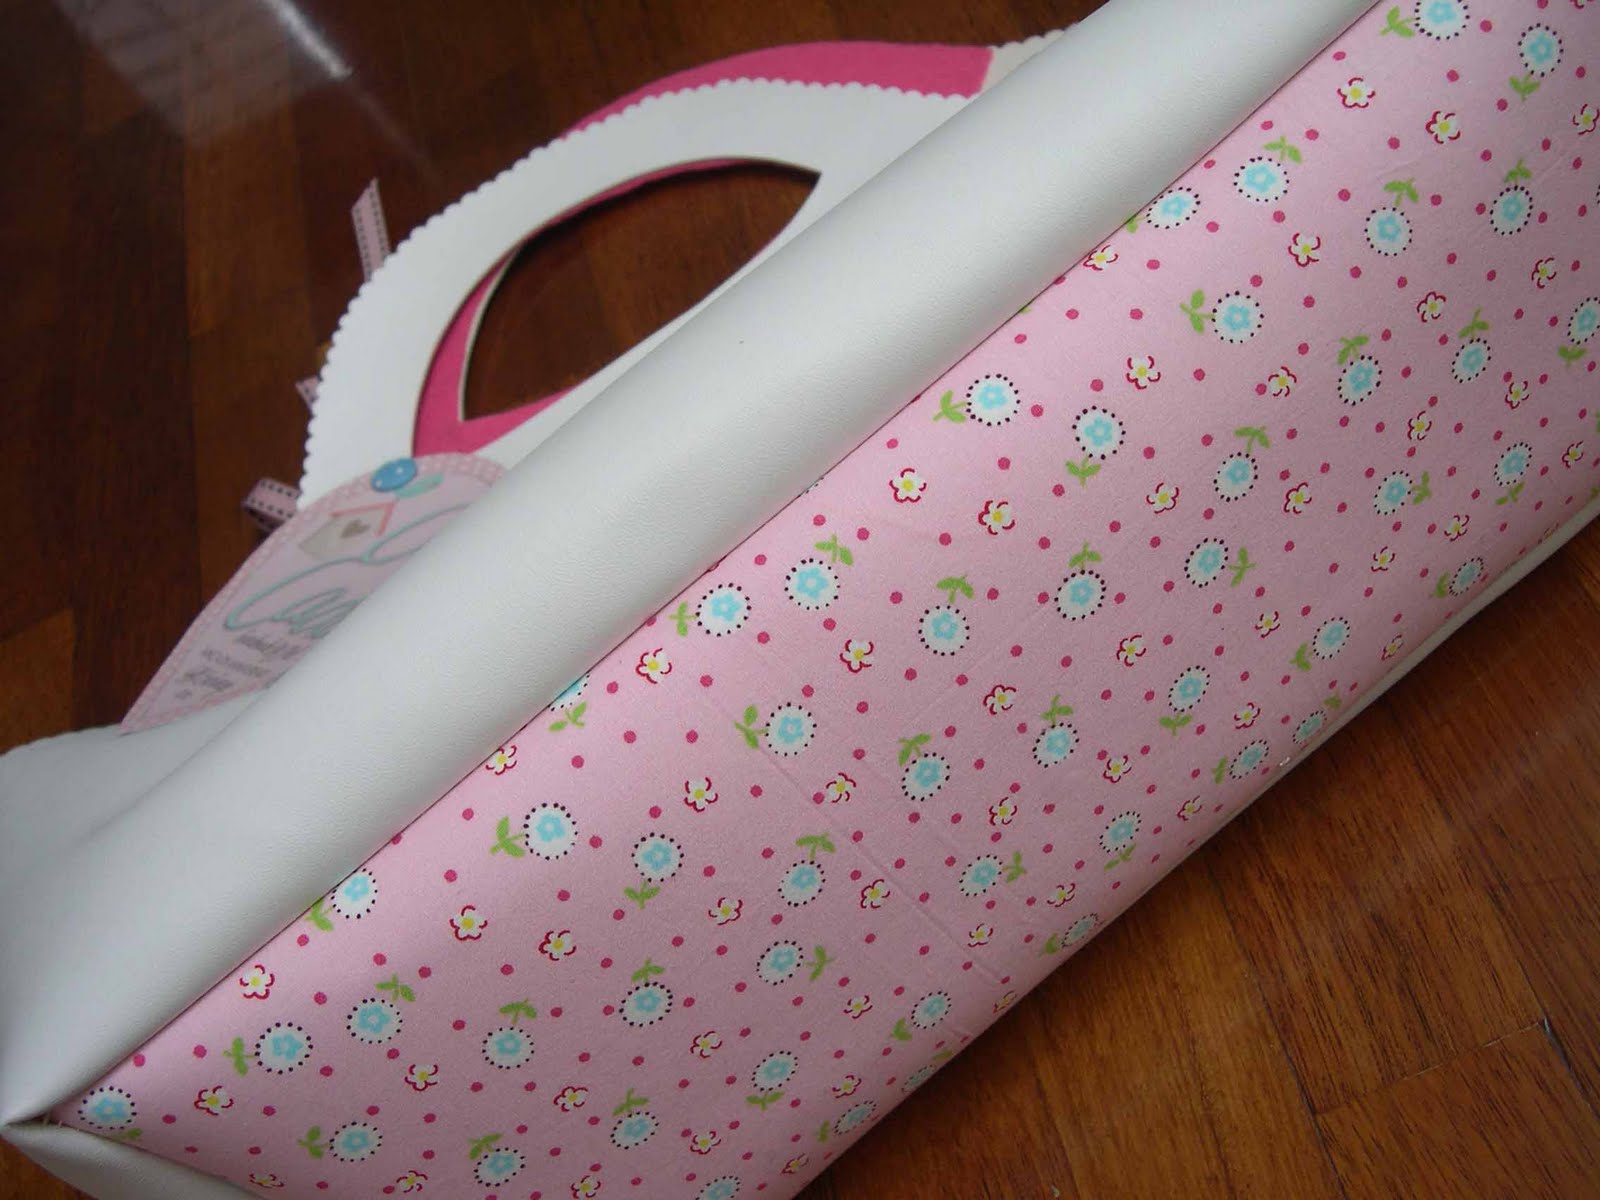
I made this incredibly simple craft caddy out of PVC for our Yahoo Group Anniversary Exchange this year and I thought I should post about how fuss free it is to sew this simple and easy tote. The template will be send via email, so just drop me a note at duodesigns_2004@yahoo.com and I'll send you a pdf format of the file.
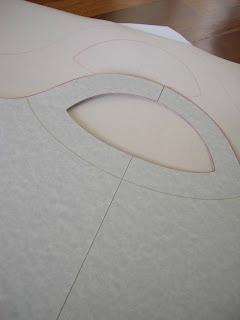 |
| Enlarge the template according to the size of PVC you have. Making sure you have enough material for 2pcs of the body, and 1 base of the bag. This pleather material should have a fabric mesh on the wrong side of the material. The mesh helps with the strength of the handles and it prevents fraying on the sides. As there are no seams and fussy bias tapes used here. Print the template and cut out as show above. Trace on the wrong side of only 1 pc of the body. You do not need to trace on both sides. Sandwich the 2 body pcs together, right side facing each other. |
 |
| Cut the sides only of the bag about 1cm from the outline. The top part of the bag where the handles are located are left as it is, uncut. I used cellophane tape instead of pins to hold the 2pcs of body together. You can use butterfly clips but no pins, pin holes do not recover well on PVC unlike fabrics. |
 |
| Sew the sides together, don't worry if you sew through the cellophane tape, it will tear and disposed off easily. End with a backstitch. Tie a knot once you are done to secure. I used a scalloped pair of scissors to trim the edge to stop fraying. |
 |
| Now, you have to be bold to do this. Using a shearing pair of scissors, or a scalloped one like above, cut the top part of the bag following the outline. Make sure you use proper shearing or scalloped scissors meant for fabrics. The paper cutting kind will not cut at all. This takes a bit of meditation and a deep breath before. Visualise first, then cut! Leave the handle hole for later. |
 |
| Secure the base of the bag with clips. I used a wooden peg so I remove them as I sew. |
 |
| It's important that you measure your base first before cutting the piece out first. I fused a matching fabric onto the base with fusible web. The base should fit the bag's botton all round. See the finished base sewn onto the body of the bag. |
 |
| See the right side of the bag. I like the material on the outside of the bag. |
 |
| Trim of excess thread, now flatten the top part of the bag and make sure the top is aligned for the cutting of the handle holes. |
 |
| The base can be lightly folded at the bottom. |
 |
| Use cellophane tape to secure the top two pieces together. And with a sharp cutter cut the marked handle holes with one swift cutting motion. |
 |
| Make sure the blade is a new blade and to cut both the pieces at the same time. Hold the blade straight and not bending, angles will make the cutting very uneven. If it's too thick, you may have to do this separately and on the other side of each piece. |
 |
| I told you I was good at cutting! LOL. Now for the best part, Invert the bag right side up. Careful you do not crease the base when inverting. You need to be quick and swift. Admire your handiwork! |
 |
| With the original paper template, I cut out 2 felt pieces for the handles and glued it to the handle on the wrong side of the PVC. Spread the glue like jam on both sides, let dry for a little before securing them together. Repeat for both handles. |
 |
| The handles all ready for the next important step. |
 |
| Use some heavy books and sandwich the handles overnight. Or until the glue is dry. |
 |
| Ta da! Isn't it oh so sweet! |
 |
| Close up of the heart embellishment. I also fused some scrap fabric onto some felt to to the layering. |
 |
| Added a thick piece of felt for the inside of the base. To hide the stitching. |
 |
| I love the pattern on this base. |
 |
| This bag is really sturdy and I'l already planning to make another one for my crochet kits! |
 |
| Some of the crochet bags I've made so far. |
 |
| This purple one is waiting to be lined! |
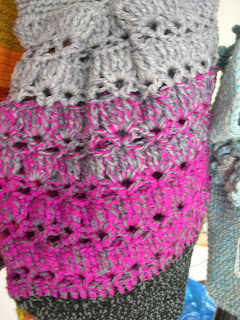 |
| Love the shell effect on this. |
SO do email me if you want the template for the craft caddy. Email me at duodesigns_2004@yahoo.com Thanks for reading, have fun trying this, I will answer all emails if you have any question with regards to the process of making this craft caddy. HUGS!!!
The Lunch Book & Bag: A Guide to Making Delicious (And Nutritious) Lunches


